
By Brittney Bulluck, COTA/L | Carolina Therapy Connection
Many parents look for ways to keep their children engaged during the summer without relying on screens. When school routines pause, it can feel challenging to balance fun and development at home.
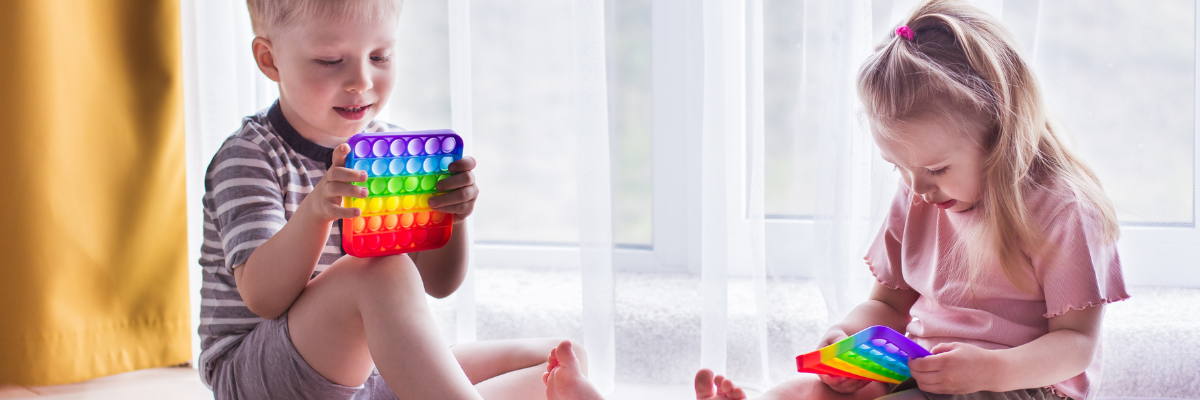
The GOOD NEWS? DIY sensory bins offer a simple, affordable, and effective way to support your child’s growth while keeping play exciting and meaningful. In this guide, you’ll learn why sensory play matters, how to create sensory bins at home, and how to adapt them to fit your child’s needs.
Why Sensory Play Matters
Sensory play helps children learn by engaging their senses – touch, sight, sound, smell, and movement. During the summer, when routines shift, sensory play provides structure while still feeling like FUN!
Sensory bins can help:
- Improve fine motor skills (grasping, scooping, pouring)
- Support attention and focus
- Encourage language and social interaction
- Promote emotional regulation
- Build problem-solving skills
Therapists often use sensory play in occupational therapy, speech therapy, and physical therapy because it supports development in a natural, low-pressure way.
What Is a Sensory Bin?
A sensory bin is a container filled with materials that encourage hands-on exploration. You can keep it simple or get creative based on your child’s interests.
Common Sensory Bin Bases
- Rice, beans, or pasta
- Sand or dirt
- Water
- Shredded paper
- Gelatin (Jello)
- Pom-poms
- Kinetic sand
Tools and Add-Ins
- Cups, spoons, and funnels
- Small toys or figurines
- Tongs or tweezers
- Letters, numbers, or pictures
How to Make DIY Sensory Bins at Home
Creating sensory bins doesn’t have to be expensive or complicated. You can use everyday household items to create meaningful play experiences.
Step 1: Choose a Theme
Themes help spark interest and keep children engaged. Start with a base and build around it.
Fun Summer Themes:
- Beach: sand, shells, pebbles
- Ocean: water, toy fish, strainers
- Bugs: dirt, plastic insects, magnifying glass
- Ice Cream Shop: pom-poms, scoops, bowls
- Lemonade Stand: yellow shredded paper, white pom-poms
Step 2: Pick the Right Tools
Tools support fine motor development and coordination.
Try:
- Scoops and spoons for pouring
- Tongs for grasping
- Cups for measuring and dumping
Step 3: Add Learning Opportunities
Turn play into learning by naturally incorporating skills such as:
- Naming colors and textures
- Counting objects
- Practicing turn-taking
- Describing what your child sees and feels
Keep the play open-ended. There’s no “right” way to explore!
Tips for Sensory Play Success
- Start small if your child feels sensitive to textures
- Supervise play, especially with small items
- Set clear boundaries (keep materials in one area)
- Follow your child’s lead
- Focus on fun… NOT perfection
Remember: messy play is MEANINGFUL play.
How Can Carolina Therapy Connection Help?
At Carolina Therapy Connection, we believe play is a powerful tool for growth. Our team supports children and families through:
- Occupational Therapy to build sensory processing, fine motor, and daily living skills
- Physical Therapy to improve strength, balance, and coordination
- Speech Therapy to support communication and language development
- Mental Wellness Services to support emotional and behavioral health
- Educational Services to help children succeed at school and beyond
If you’re wondering whether your child could benefit from therapy or want personalized ideas tailored to your child’s needs, we’re here to help!
👉 Visit our website to learn more or schedule a consultation today.